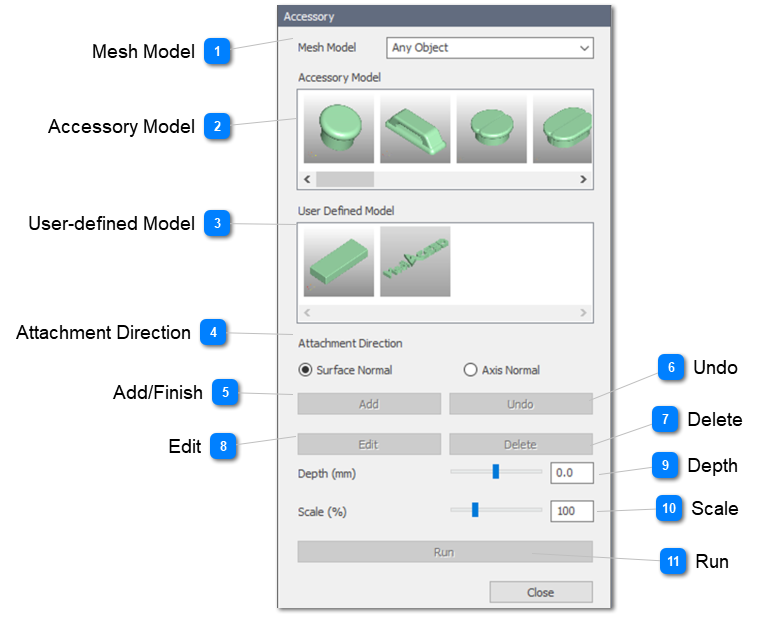
Accessory ModelSelect an accessory part to add.
|
String Hook
|
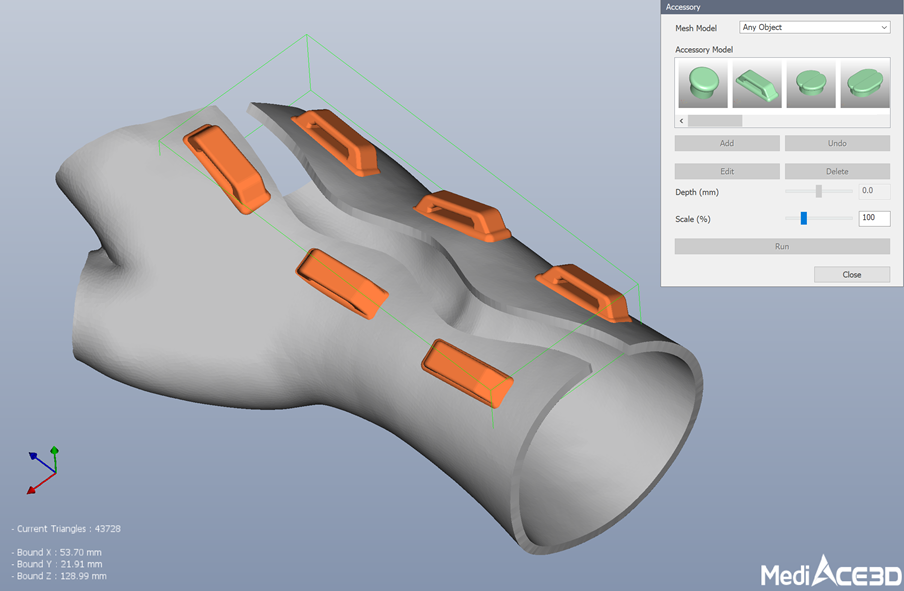
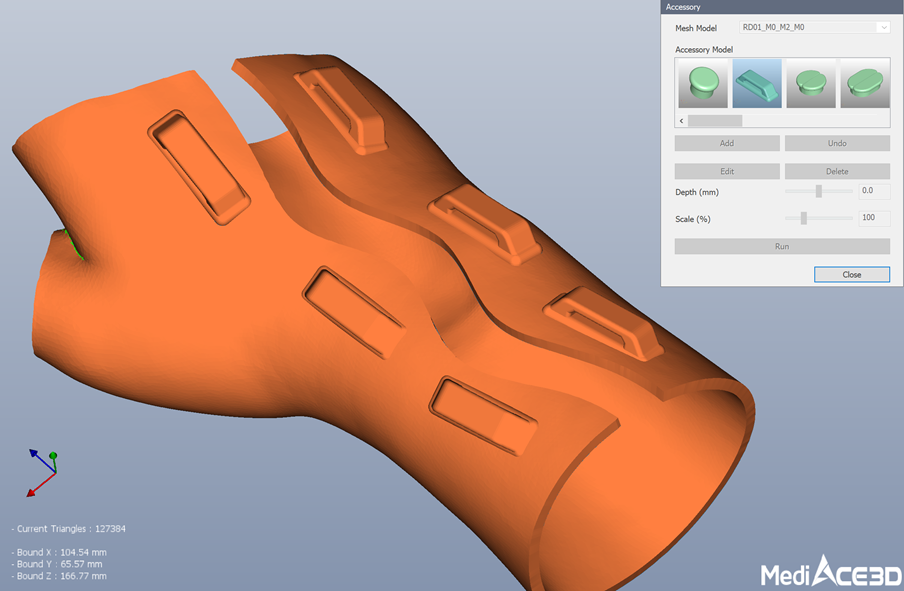
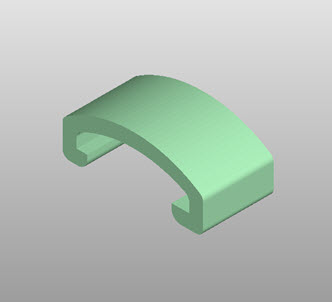
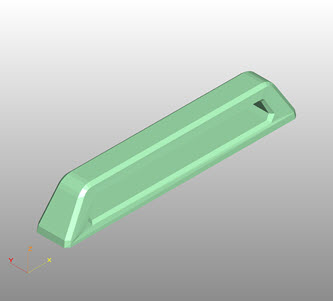
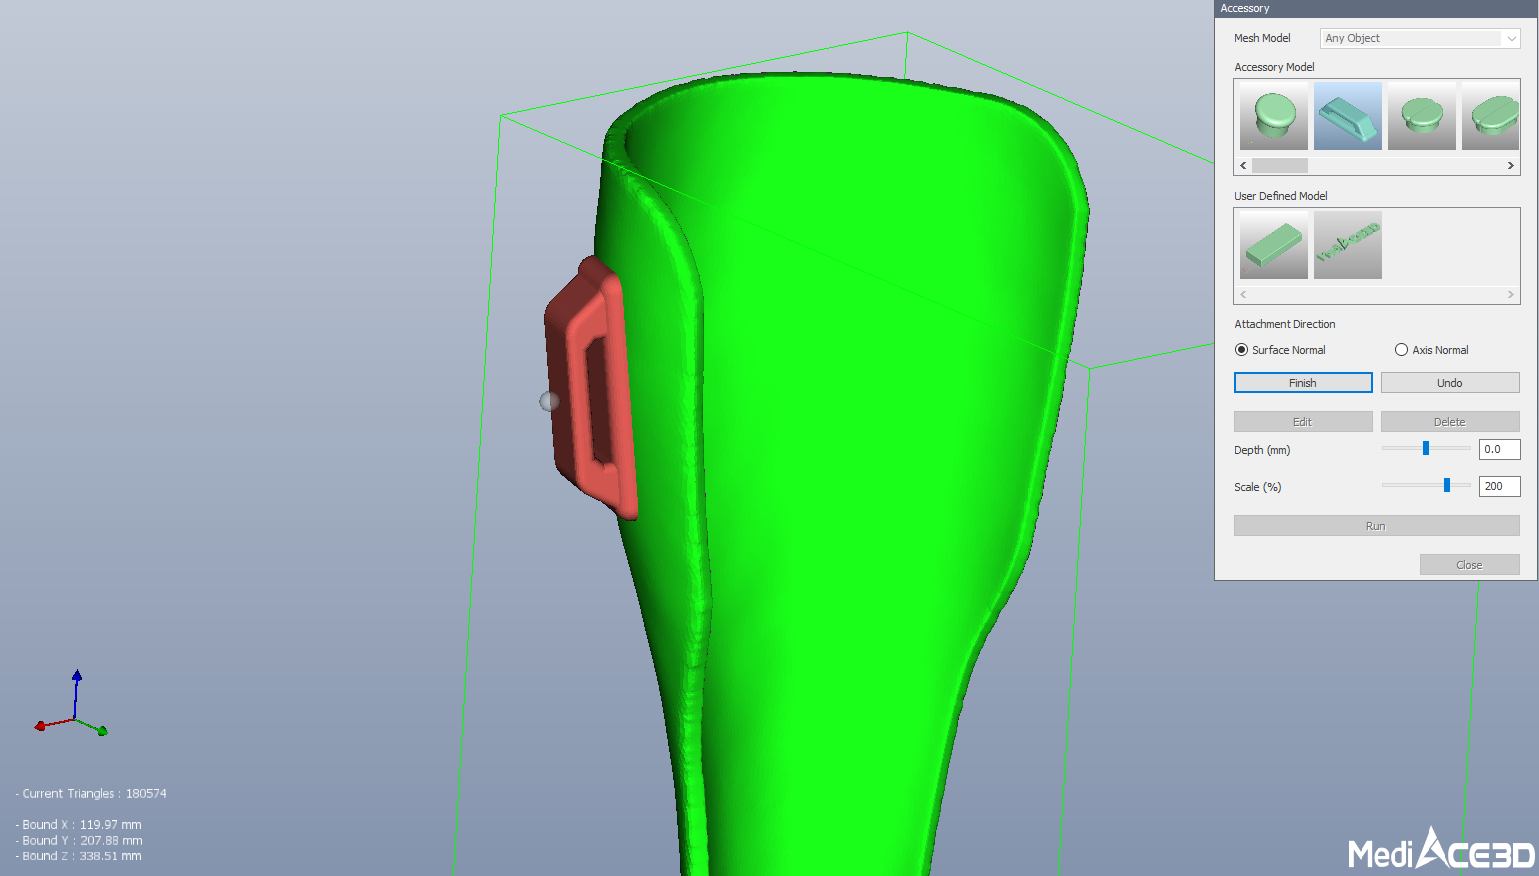
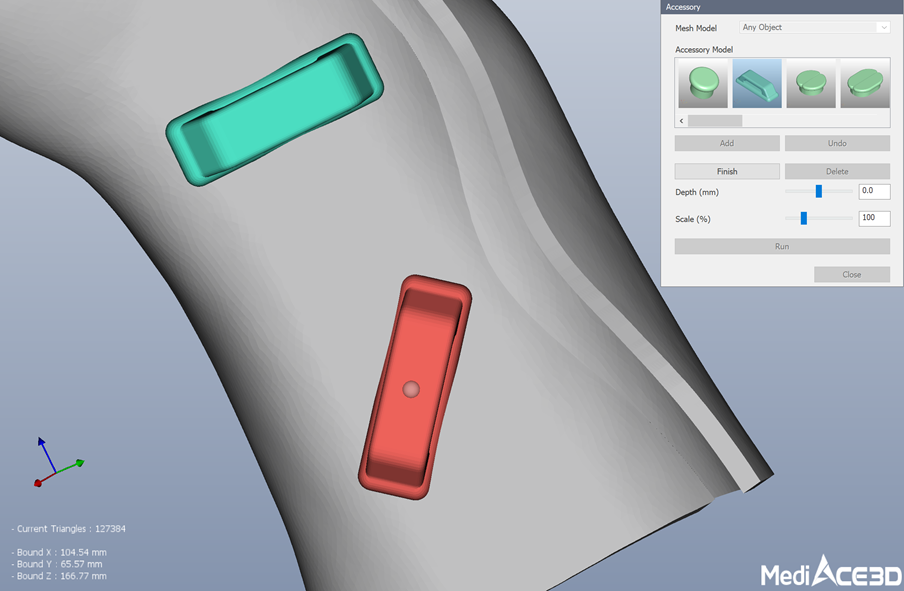
Clip Holder
|
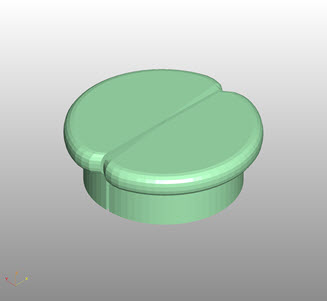
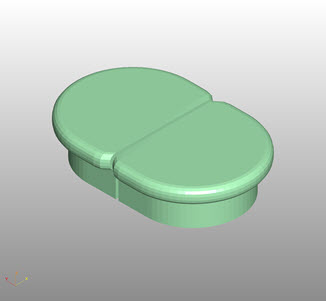
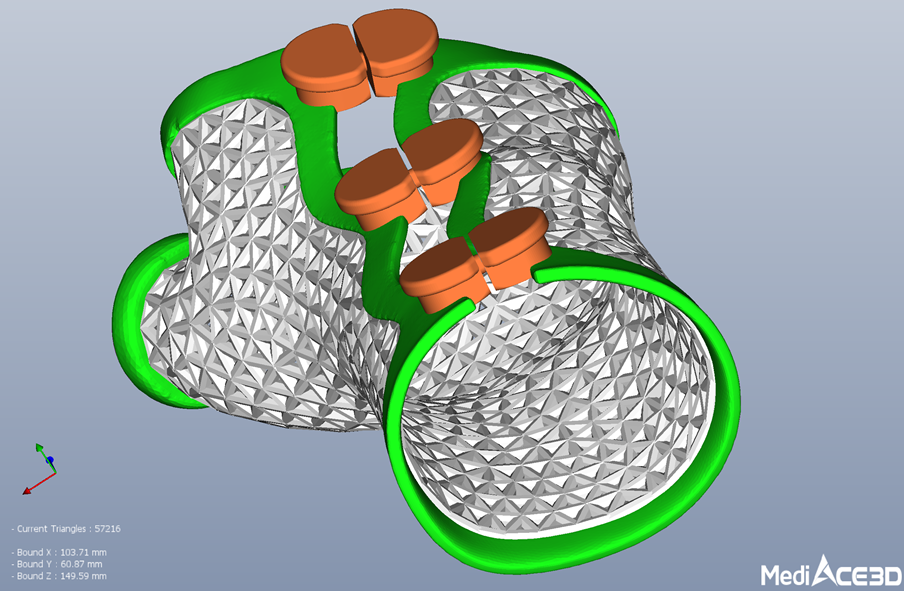
Round Holder
(2 Pieces)
|
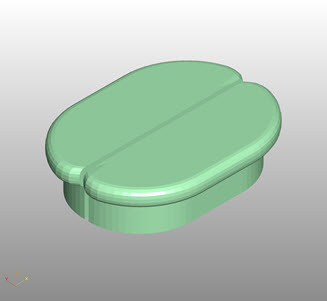
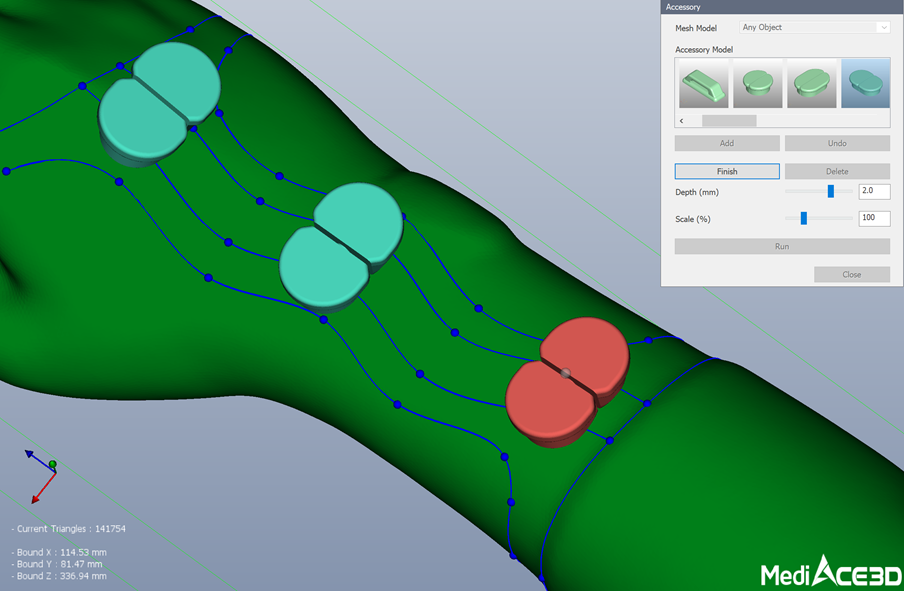
Long Round Holder
(2 Pieces)
|
|
|
|
|
|
|
Short Round Holder
(2 Pieces)
|
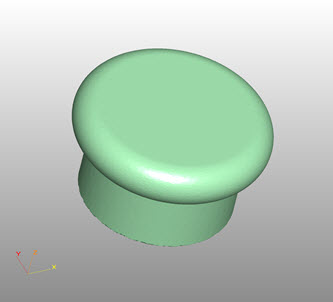
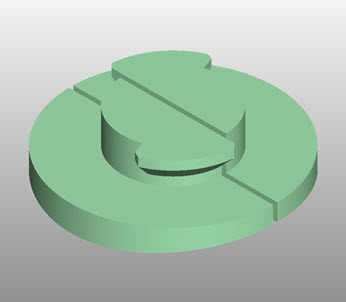
Cap Lock
|
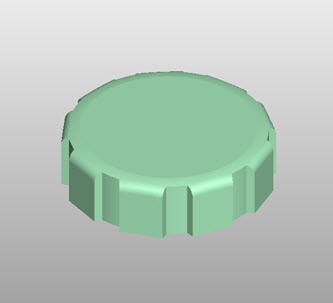
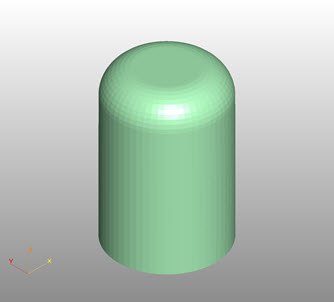
Cap
|
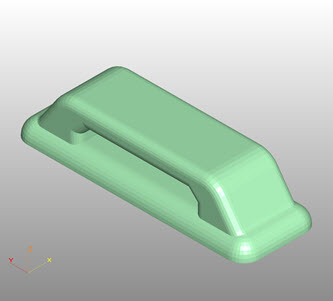
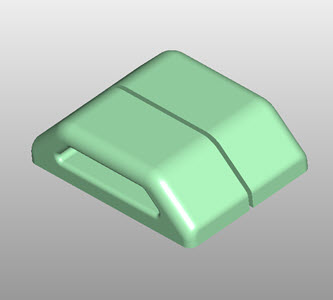
Clip Lock
|
|
|
|
|
|
|
Clip
|
Round flat guide
|
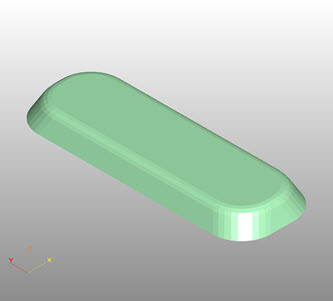
Slot flat guide
|
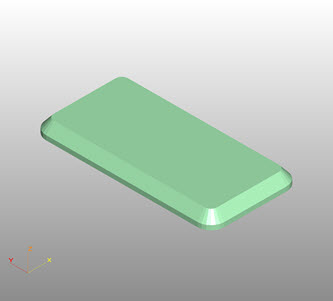
Rectangular flat guide
|
|
|
|
|
|
|
Cylindrical pin
|
Velcro Guide
|
Emboss
|
RD Logo
|
|
|
|
|
|
※ String Hook: Used to tightening with string, circular band, etc.
※ Clip Holder: Used to tighten with C-clip, Omega clip, etc.
※ Round Holder: Used to tightening with circular band, Omega clip, etc.
※ Long Round Holder: Used to tightening with circular band, Omega clip, etc.
※ Short Round Holder: Used to tightening with circular band, Omega clip, etc.
※ Cap Lock: Used to tightening with Cap.
※ Cap: Used to tightening on the Cap lock. (Separately printed to 3D printer)
※ Clip Lock: Used to tightening with Clip.
※ Clip: Used to tightening on the Clip lock. (Separately printed to 3D printer)
※ Round flat guide: Add supplement part to reinforce around the circle hole.
※ Slot flat guide: Add supplement part to reinforce around the slot hole.
※ Rectangular flat guide: Add supplement part to reinforce around the multi holes.
※ Cylindrical pin: Add guide pins to prevent separation of adjacent parts.
※ Velcro Guide: Add guide to prevent release of Velcro.
※ Emboss: Add protruding features for aesthetics, reinforcement, etc.
※ RD Logo: Add protruding features for aesthetics, etc.
|