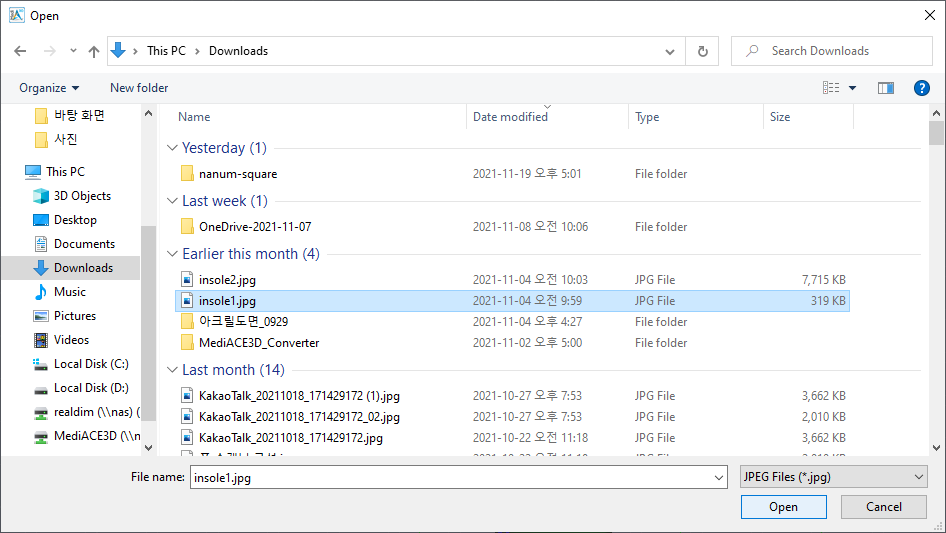
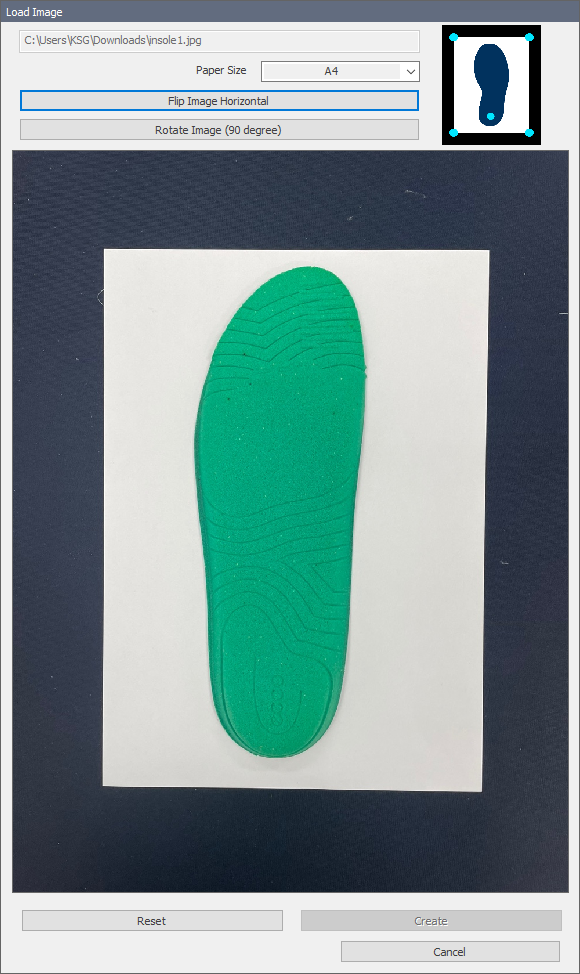
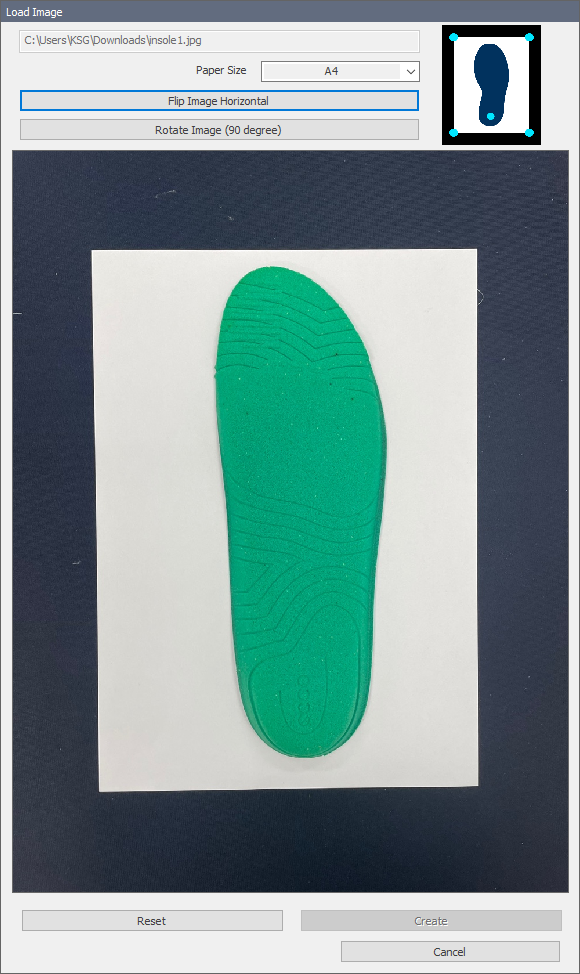
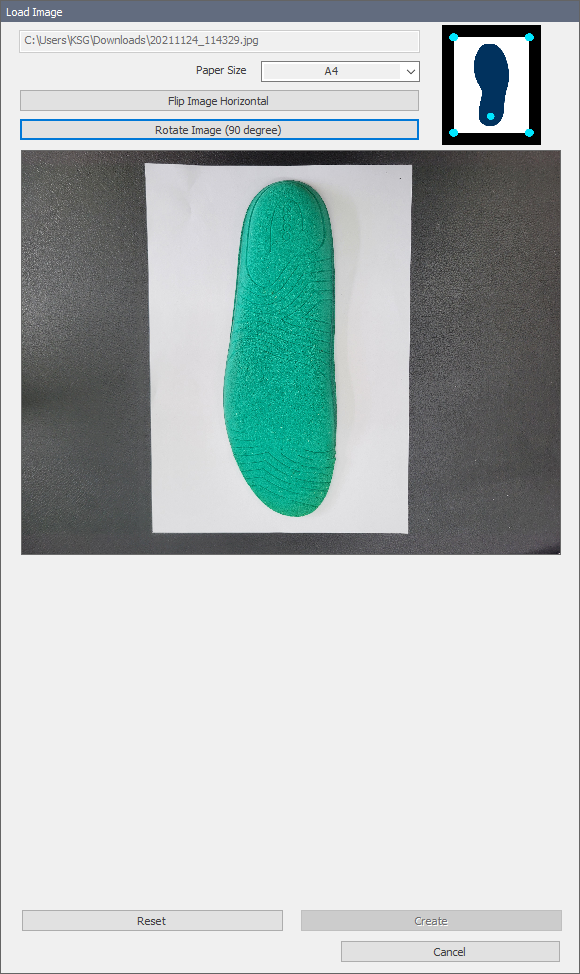
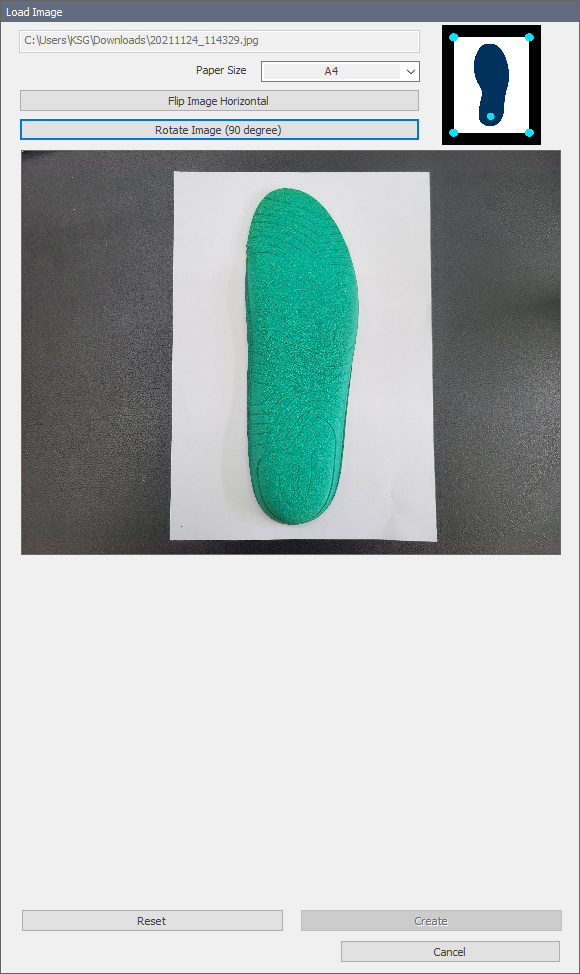
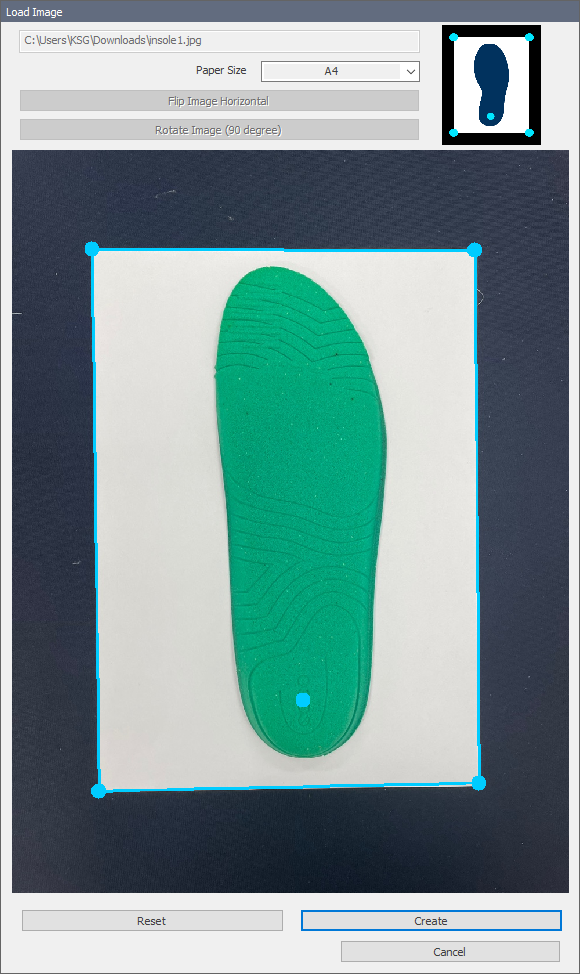
Create an AFO sole profile model using the shoe's insole photo file taken on A4 or A3 size paper.
In order to get a picture that fits the actual size of the insole, you should take it at a distance of about 50cm from the object with a mobile phone camera.
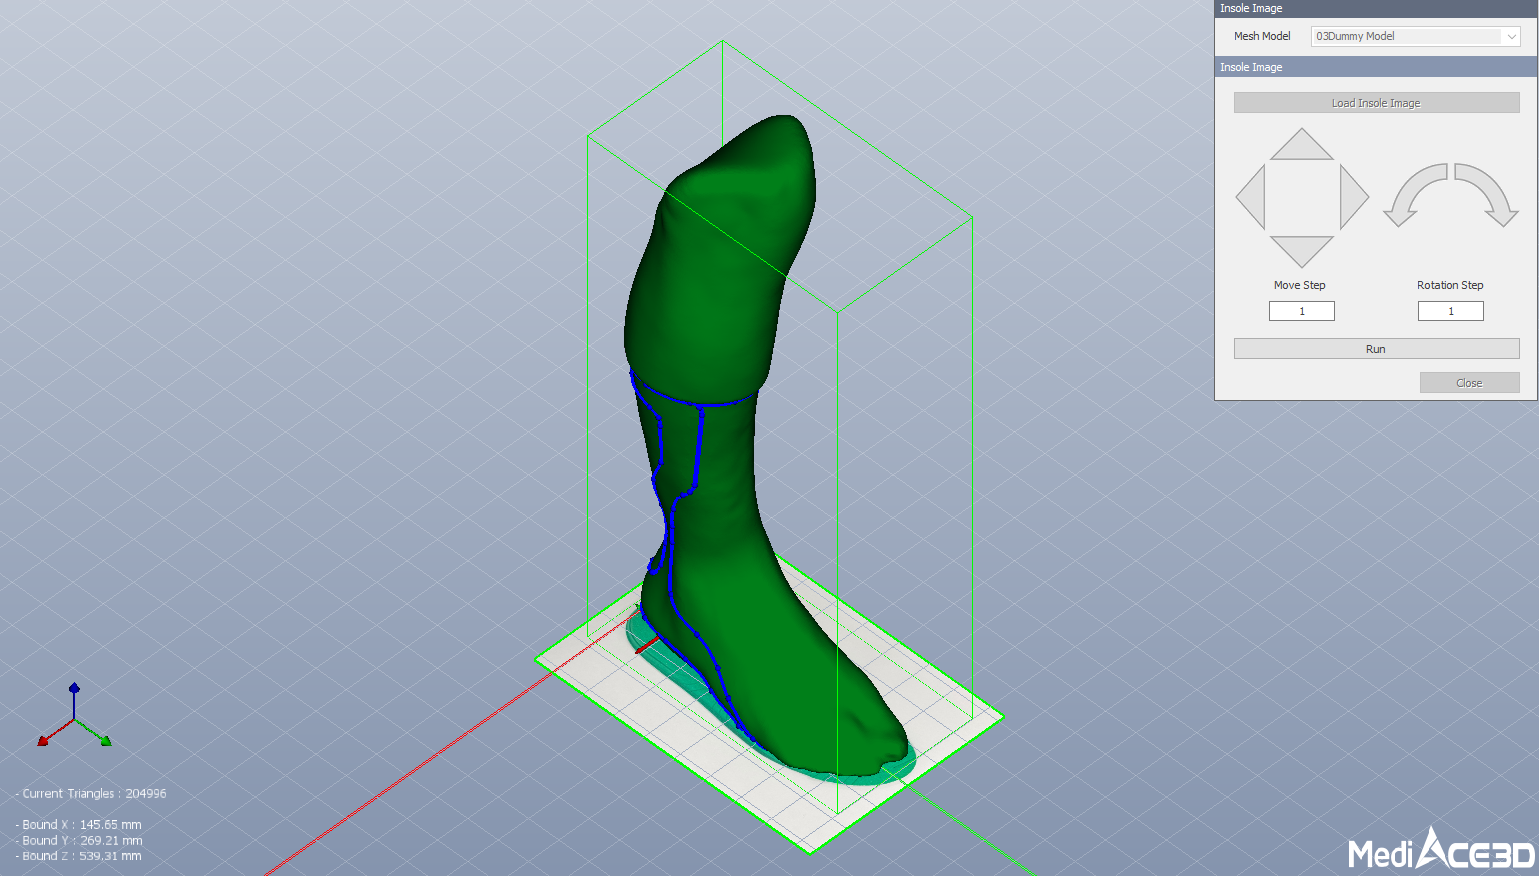
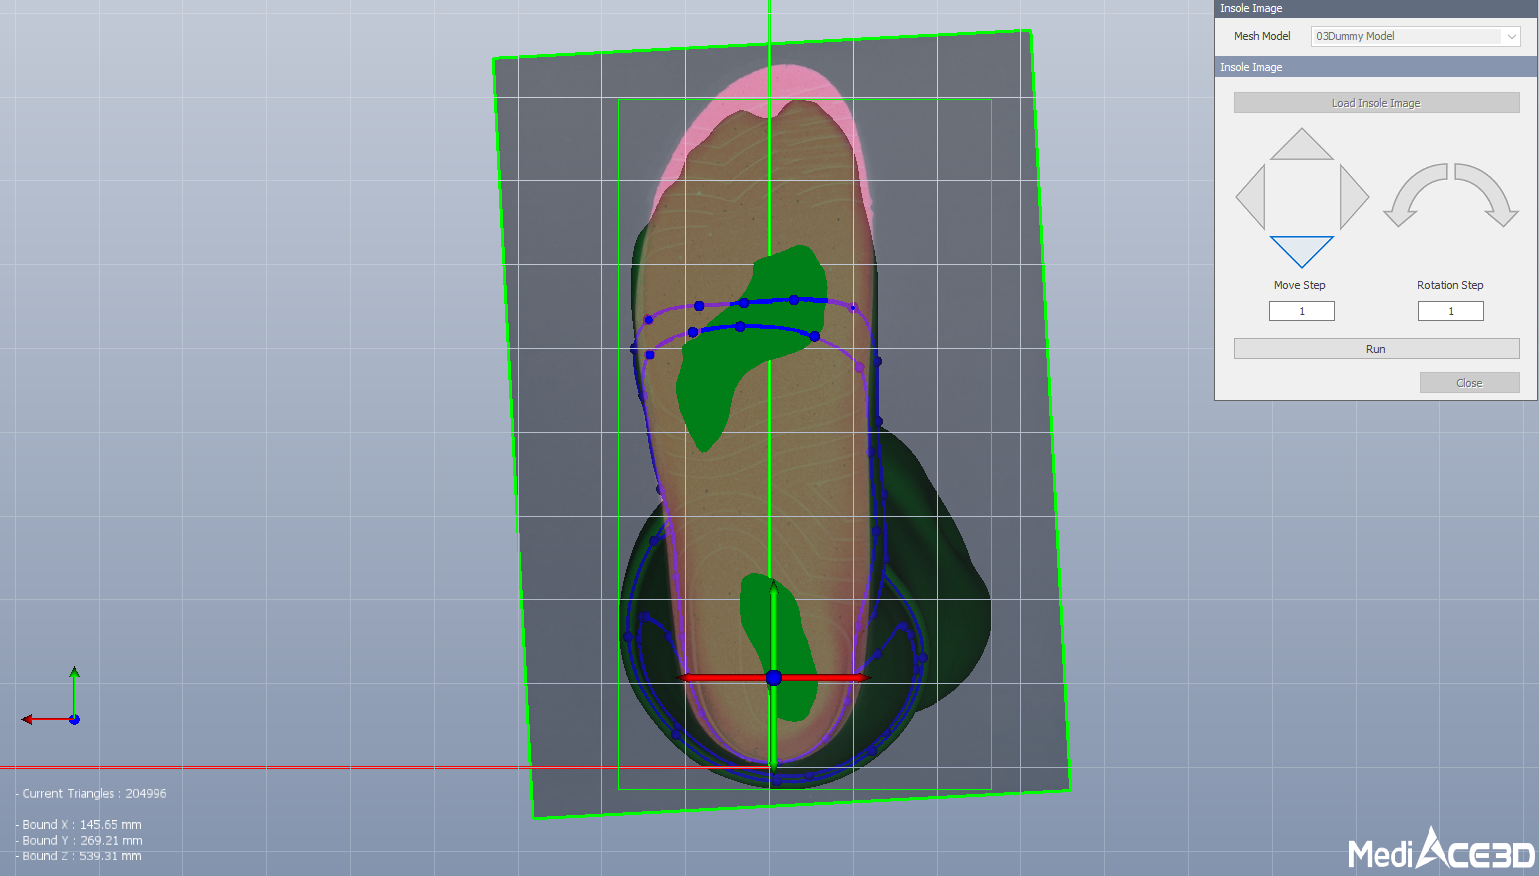
* This function is always used togather with the AFO Sole function, and it helps to edit the curve of the Sole Profile Model created in advance in the AFO Sole function to fit the exact shoe insole.
Mesh Model
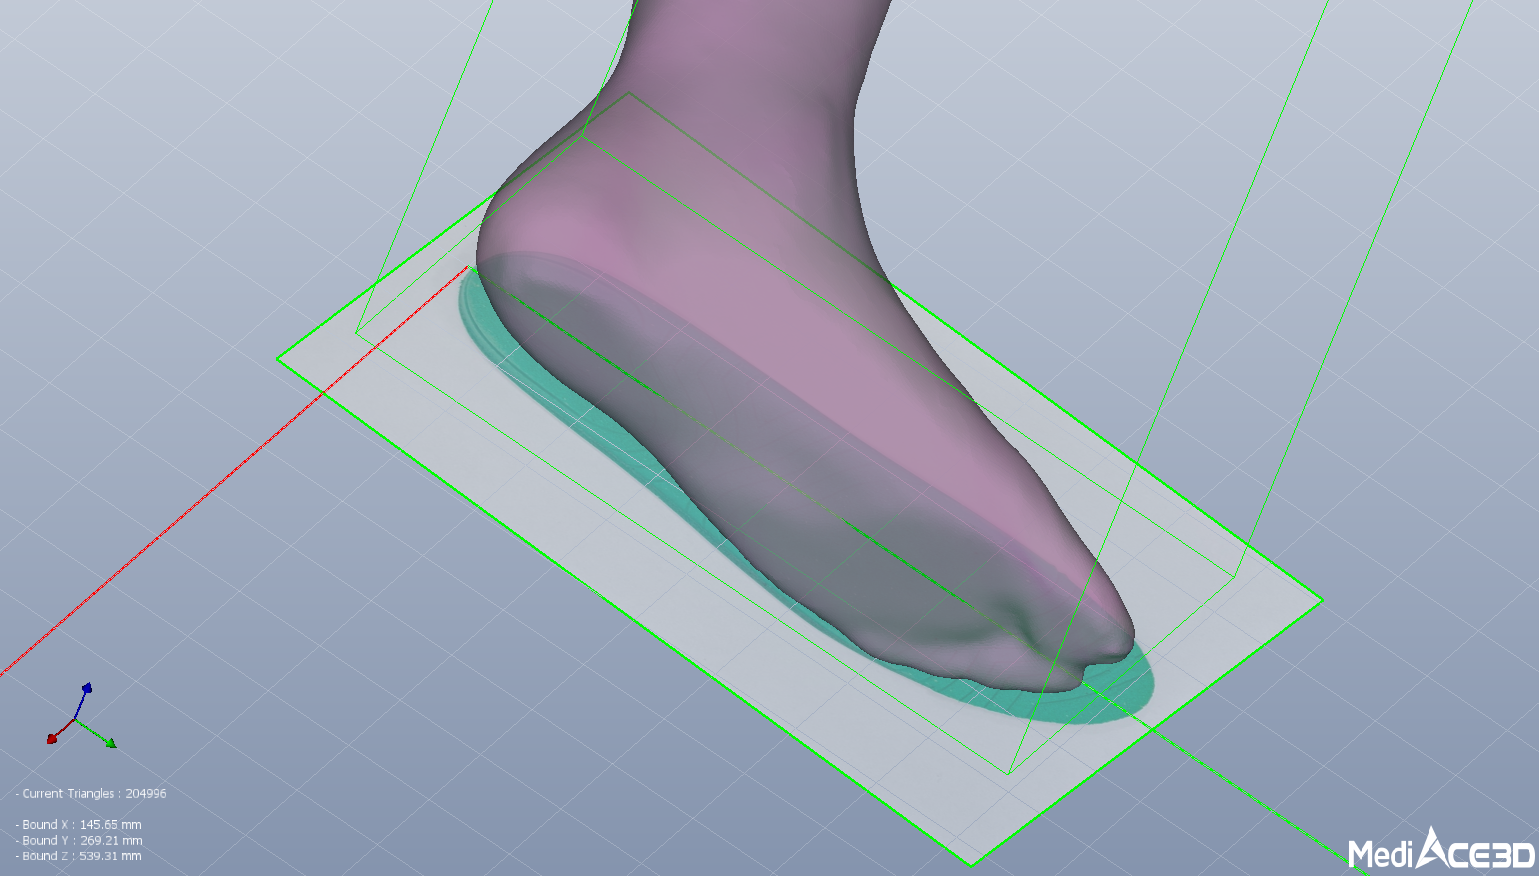
Select the target mesh model (Foot Model with Skeleton).
When the insole image model function is executed, the sole profile is automatically added as based the reference point of the skeleton of the foot model.
The AFO can be designed by accurately fitting the sole profile to the actual shoe insole size by matching the insole photo mapping model created with the Insole Image to the AFO sole dummy model and insole profile model created with the AFO Sole function.